Baked corn and chickpea tortilla chips
Tortilla chips are one of my guilty pleasures. I love their crunchy texture and bold flavouring, but because I can hardly contain myself once I open a bag, I try not to buy them that often. The other day I was making this lovely black bean and sweetcorn salad which just begged me for tortilla chips as the finishing touch. So instead of popping a bag, I set out to make this a homecooked meal from start to finish – including the chips.
Making your own tortilla chips is quite easy and actually a lot of fun. Apart from that, it gives you complete control over ingredients, flavouring and mode of preparation.
The completely effortless way would be to crisp up ready-made corn tortillas by lightly brushing them with vegetable oil, cutting them into triangles and baking them for 7-8 minutes at 200ºC/400°F/Gas 6. This works like a charm and already reduces the salt and fat content considerably. But when you make your chips from scratch, that’s when things become interesting. It opens up a range of flavouring options and it gives you the opportunity to up the nutritional value at the same time. Now we’re talking about a crunchy, wholesome snack which doesn’t need to make any excuses: no guilt here, just pleasure.
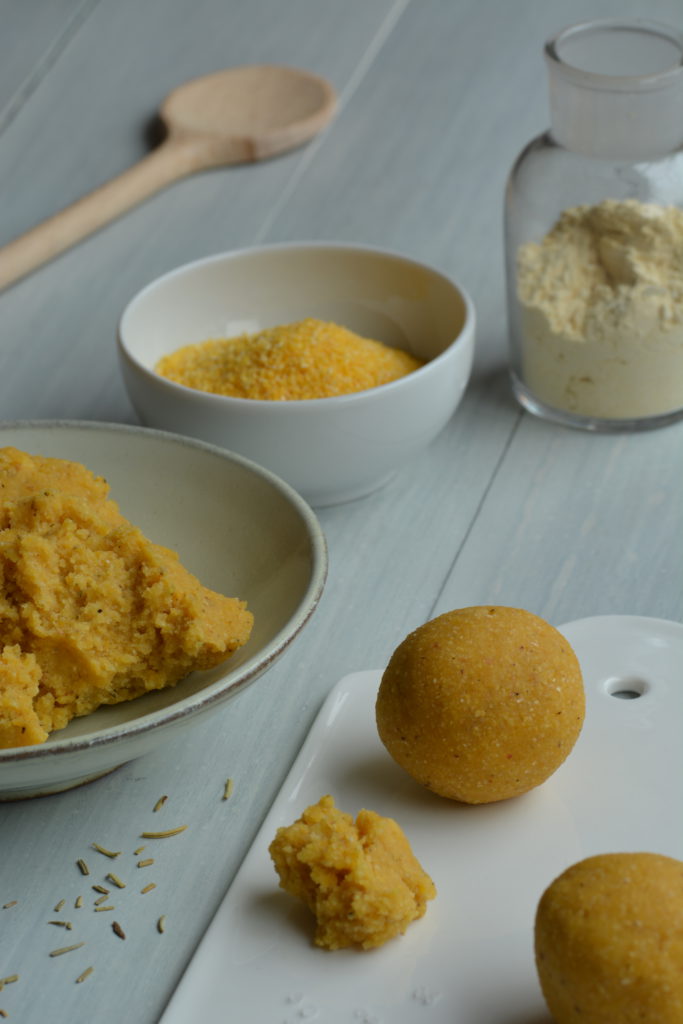
This past week I’ve been experimenting away and I’m so happy with the result! Below you’ll find a basic dough recipe and two different ways to turn this into chips. For the dough I used a mixture of polenta, for crunch, and chickpea flour, for its nutritional value. Since I love the combination of rosemary and sea salt, that’s what I put in. Apart from that, I kept the seasoning light, but if you like to spice things up, you can of course fire away with cayenne pepper, garlic or other flavourings that fit your craving.
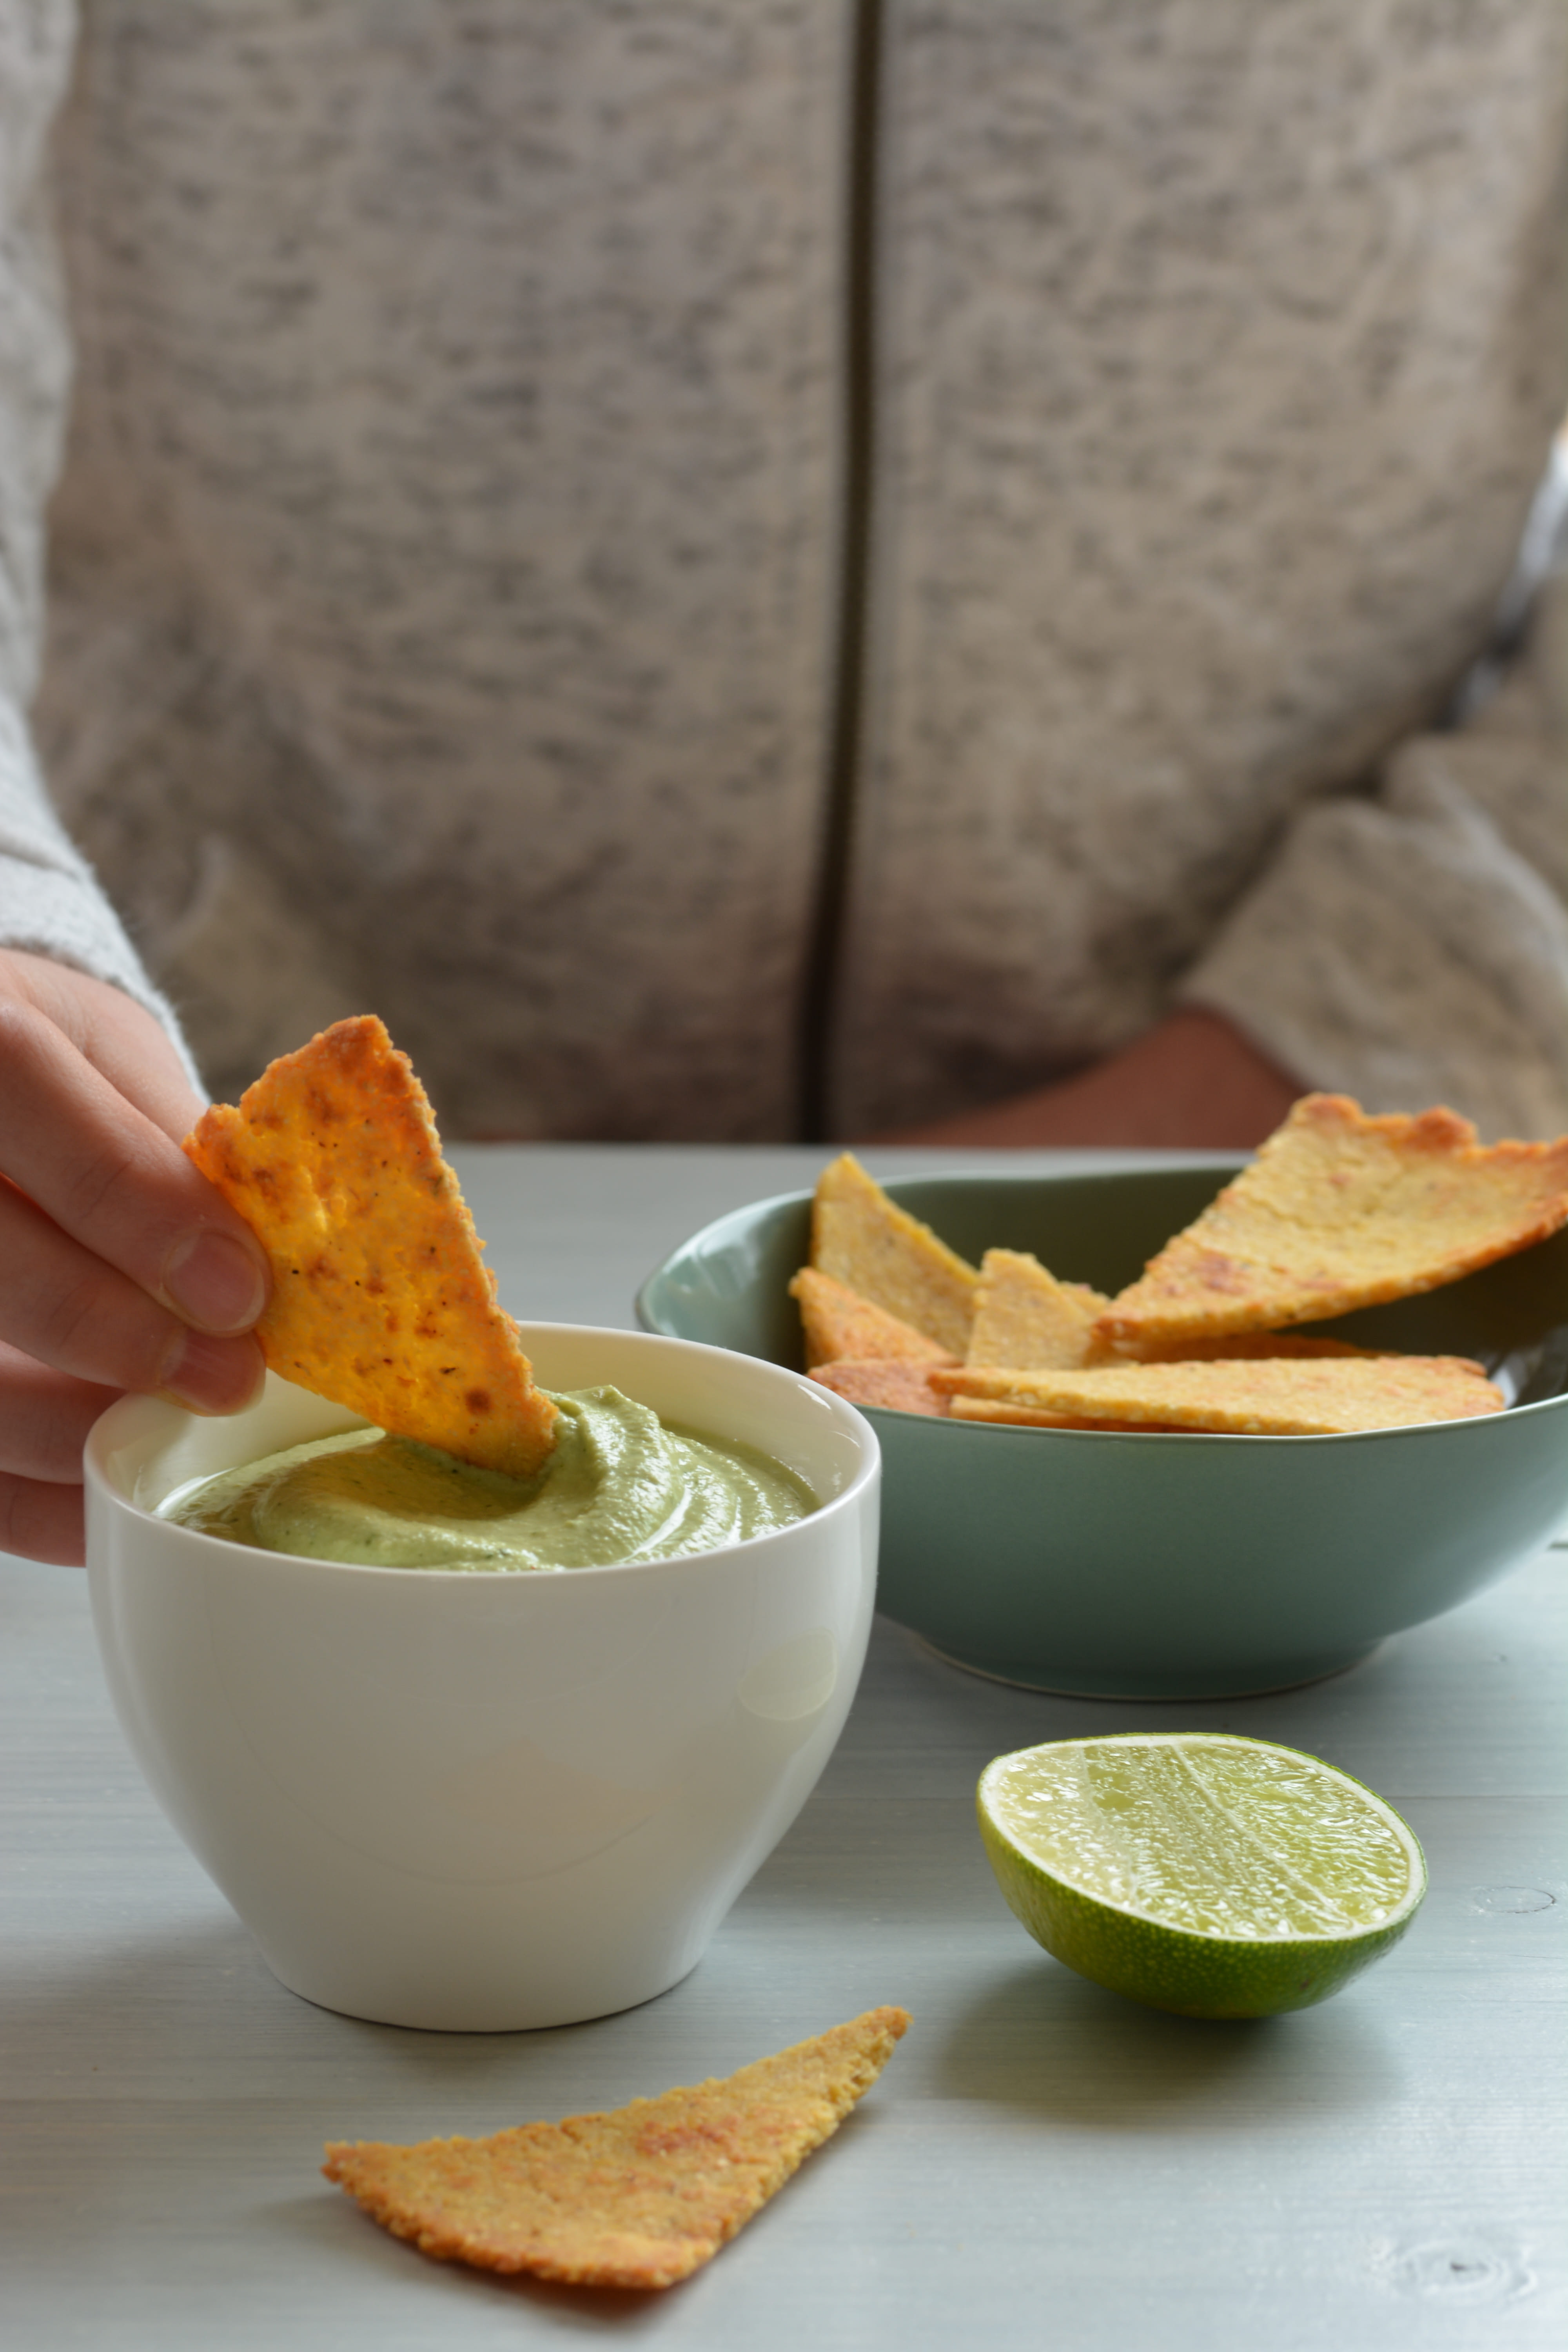
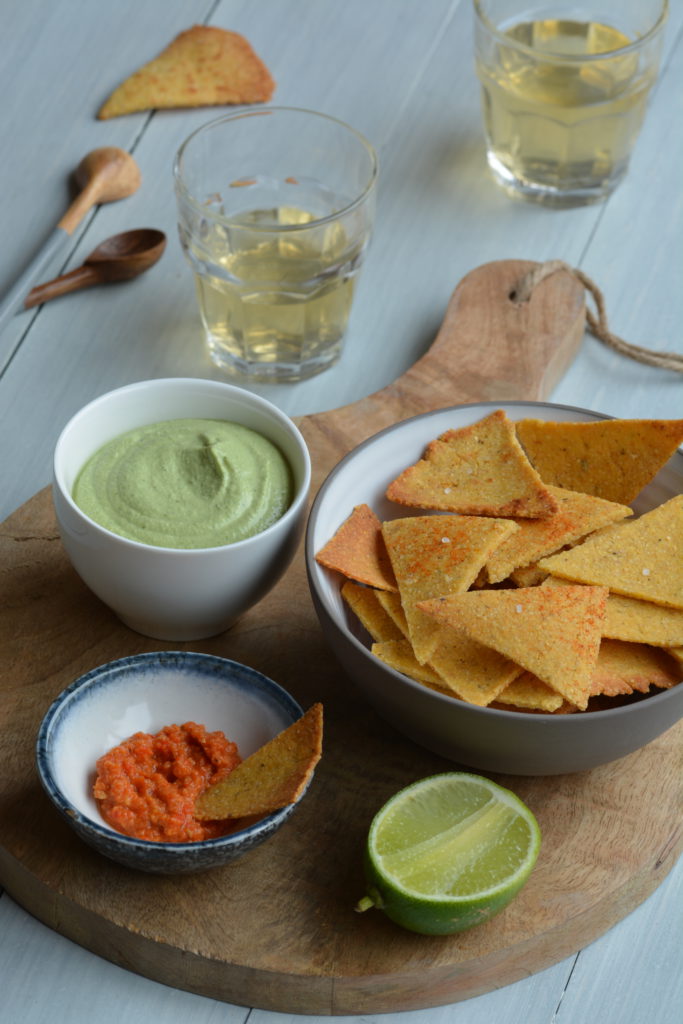
I tried two different ways to bake these chips and both of them turn out to have their own advantages. The first one is a quick and easy traybake approach, which is ready in minutes and results in crisp and neatly cut triangles. The second one is a two-step procedure, in which you first bake the tortilla dough in a frying pan and then crisp it up in the oven. This takes a bit more effort, but results in more rustic and really REALLY crisp chips. My family loved both versions, so, depending on your taste and the time you have available, which baking mode you choose is really up to you.
Whether you make them to top a salad, as the crispy vessel for salsa with drinks or as a quick lunchbox snack, you’ll be deeply appreciated by the people you offer them to. My children and their classmates have been begging me to bake more after munching up the test batches, and I hope you’ll like them as much as we did.
Happy baking!
Baked corn and chickpea tortilla chips – makes about 50 chips
Ingredients
- 130 g chickpea flour
- 130 g polenta
- ½ tsp. baking powder
- 1 tsp. dried rosemary
- ½ tsp. salt
- ½ tsp. freshly ground black pepper
- ½ tsp. paprika
- 120 ml warm water
- 10 ml vegetable oil
- some extra paprika and course sea salt, to sprinkle
Making the dough
Mix the chickpea flour, the polenta and the baking powder in a large mixing bowl. Using a pestle and mortar, grind the rosemary needles to small flakes. Stir the rosemary, salt, pepper and paprika through the flour, then mix in the water and vegetable oil. Lightly knead the dough until it comes together, then shape into a ball.

Baking the chips – the quick traybake way
Heat the oven to 180°C/350°F/Gas 4.
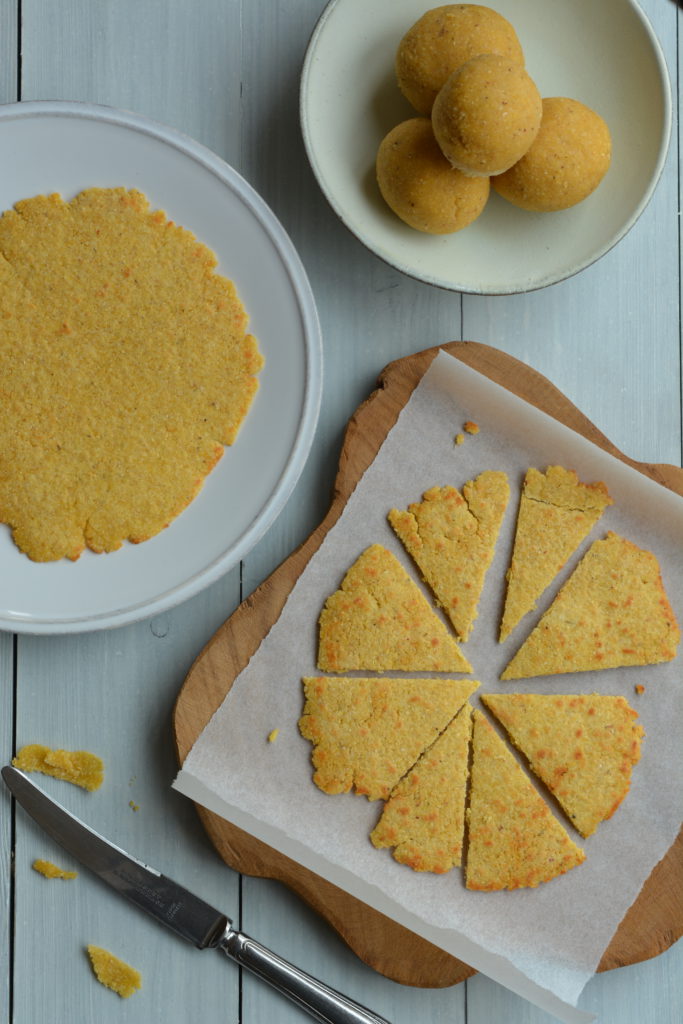
Cover your worktop with a sheet of baking parchment. Place the dough in the middle and flatten it with your hands, then cover with a second sheet of parchment.Using a rolling pin, roll out the dough to 1-1½ mm thickness. When the dough is as thin as it gets, slide it onto a baking sheet, remove the upper sheet of parchment and score the dough into triangles.
Thinly brush the dough with a little vegetable oil and sprinkle with paprika and sea salt. Bake for 13-15 minutes until golden and crisp.
Eat the chips while they’re nice and hot, or leave them to cool and keep in an airtight container; they’ll keep well for several days.
Baking the chips – the two-step way, for rustic chips with extra crunch
Divide the dough into six little balls and keep them covered until using, so they won’t dry out.
Over a medium heat, heat a frying pan and thinly brush it with a little vegetable oil.
Cover your worktop with a sheet of baking parchment. Place one ball of dough on top, flatten it with your hands, then cover with a second sheet of parchment. Using a rolling pin, roll the dough into a circle of 1-1½ mm thickness. Remove the top layer of parchment, transfer the tortilla to the pan and cook it for about a minute each side, until lightly browned. Slip the tortilla onto a chopping board and while still warm, cut it into 8 triangles.
Repeat with the rest of the dough.
Heat the oven to 170°C/330°F/Gas 3.
Spread the chips over a lined baking sheet and put them in the oven for 10-12 minutes to crisp up.
Enjoy them straight out of the oven, or leave them to cool and keep them crisp in an airtight container for up to three days.

Black bean salad with charred sweetcorn and oven-baked tortilla chips - Berries & Lime
10 February 2017 @ 09:34
[…] away this past week and I’m very happy with the result! You can find the recipe here. Homemade and baked like this, these chips add crunch and flavour to the salad in a form that […]